
Table of Contents
Blog.Fastssh.com — IPv6 is a new computer addressing protocol that is the successor of IPv4. IPv6 was developed with the intention of anticipating possible problems with IPv4 in the future. Until recently, IPv4 is still the most popular and most widely used network protocol standard. IPv6 is not very common yet and many software, routers, modems and other networking devices do not yet support this new protocol. This article will explain in detail How to Enable IPv6 (Internet Protocol Version 6) on Windows.
In the future, IPv6 will definitely be used and all network devices must use IPv6. So before IPv6 will actually replace IPv4, you should learn about IPv6 from now on so you don’t miss any information.
IPv6 is supported and implemented by Microsoft starting from Windows Vista. IPv6 is pre-installed on Windows Vista and enabled by default. If you log in to view network device properties, you will find IPv4 and IPv6 both active. Traffic or data packets sent via IPv6 are still very small, still much larger via IPv4. When IPv6 is not used, you can disable it to conserve system resources.
Currently the use of IP addresses is still very popular version 4. Suppose you find an IP experience system like 192.168.1.22 then this is IPv4. Meanwhile, the newest generation IPv6 is slowly but surely increasing in use. If you need access to LAN or online services that are required to be IPv6, Windows doesn’t mean you can.
To solve this problem, we will provide a tutorial on how you can activate IPv6 on your Windows.
How to Enable IPv6 (Internet Protocol Version 6) on Windows
In this article we are practicing in RDP (windows 2012) the ISP has IPv6 from howdy.id. The method for personal computers or other Windows OS is the same. However, because the ISP you are using currently does not have IPv6, it cannot be used as an example.
Before that, you must log in or register on the Howdy.id site. Don’t worry, this is all you can get for free.
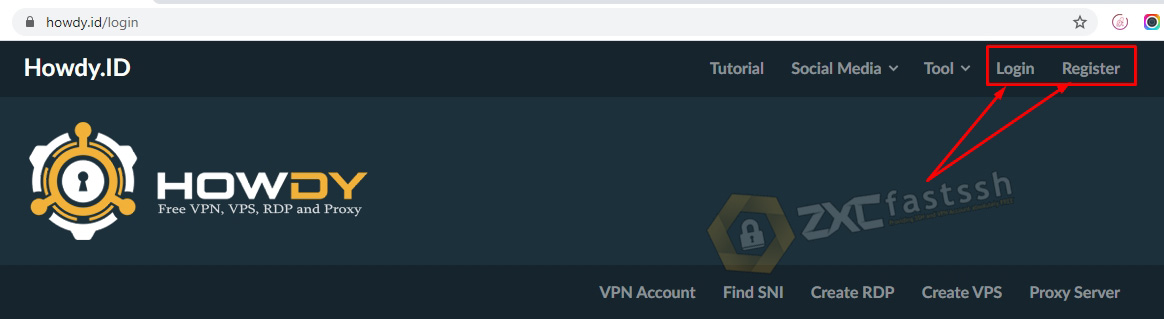
Open the Howdy.id site then click the login or register menu if you don’t have an account there.
After you have successfully logged in, then you click the Create RDP menu.
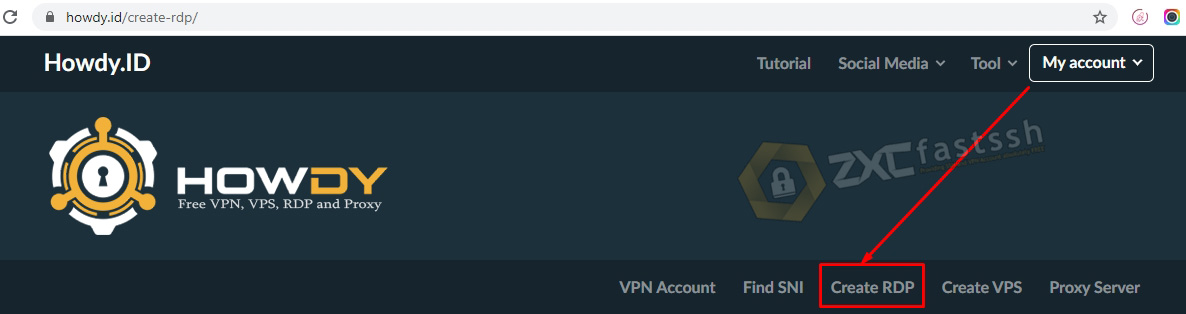
Click Create RDP.
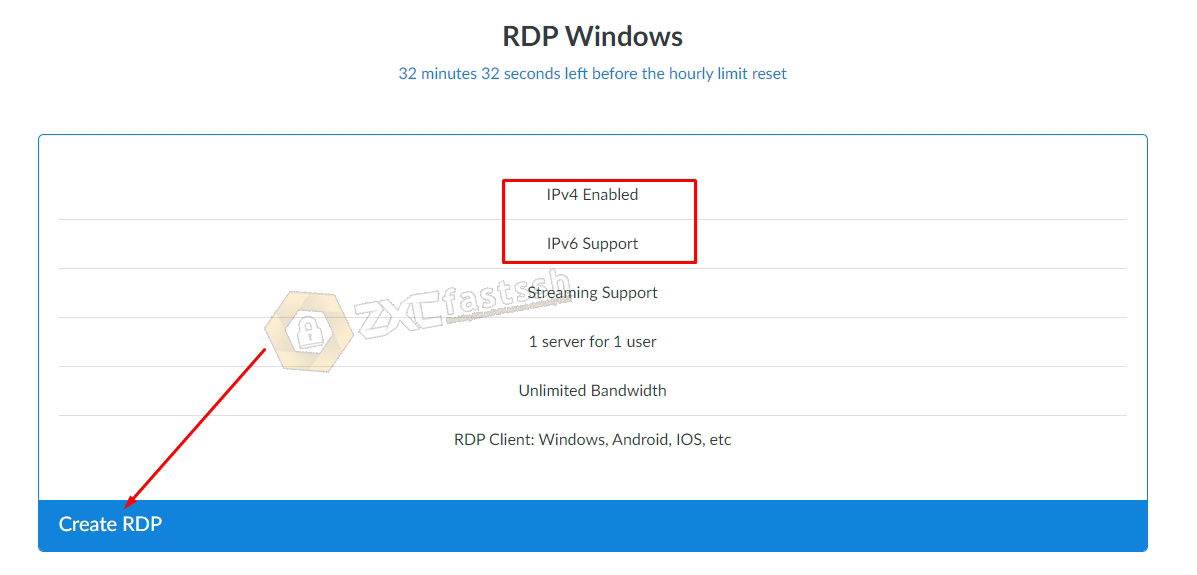
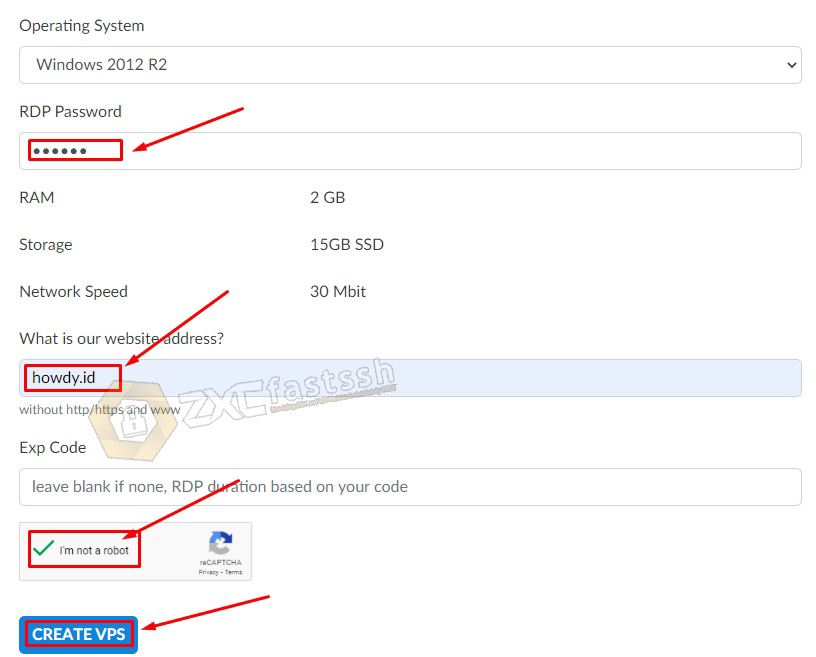
Enter the RDP password, on the form what is our website address fill with “howdy.id“. Check i’m not a robot and click CREATE VPS.
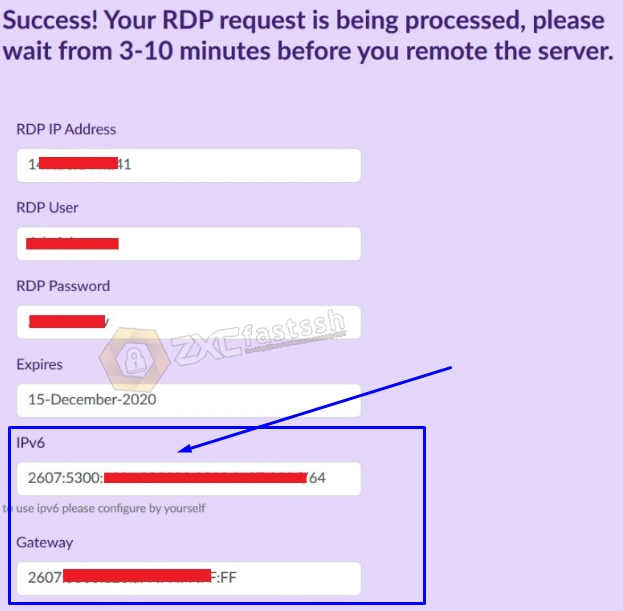
Wait a few seconds for your RDP and IPv6 accounts to be successfully created and the account’s active period information will appear as well. After the RDP and IPv6 accounts have been successfully created, pay attention to what I boxed in blue in the image below, this is IPv6 and the default gateway which you will later set on your Windows PC.
The tutorial for making RDP and IPv6 is complete. Now we are setting IPv6 on windows.
How to set and activate IPv6 in Windows
To activate IPv6 on Windows, here is a step by step tutorial complete with images that you can follow and apply.
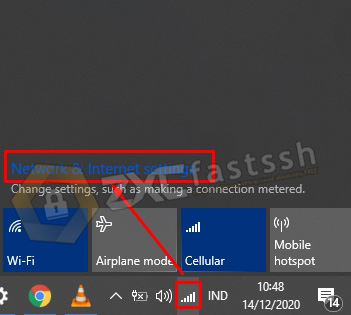
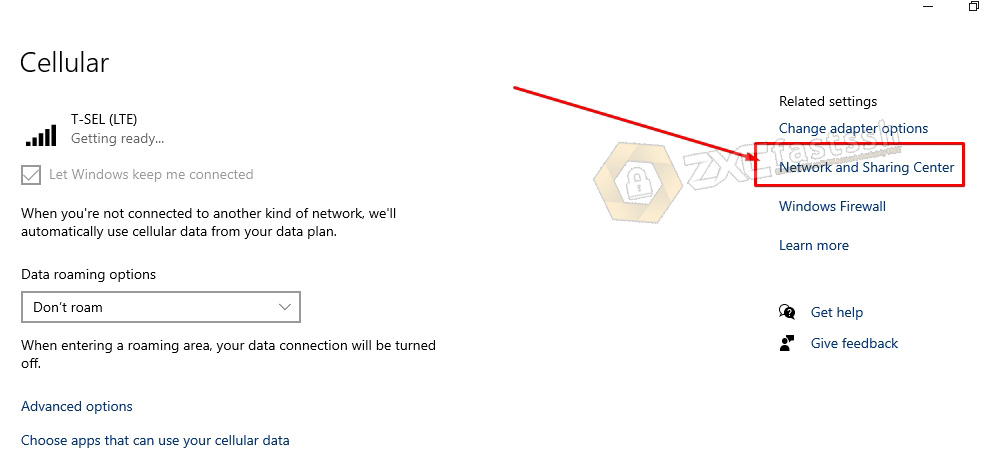
In the notification area to the right of the taskbar, click the button with the Network / WiFi icon and then select Open Network and Sharing Center.
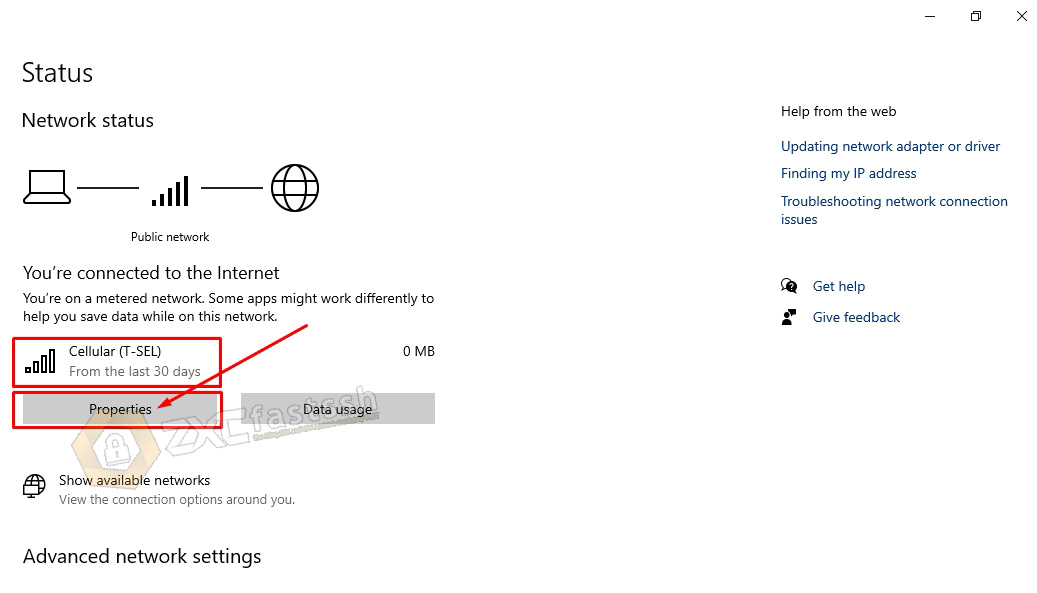
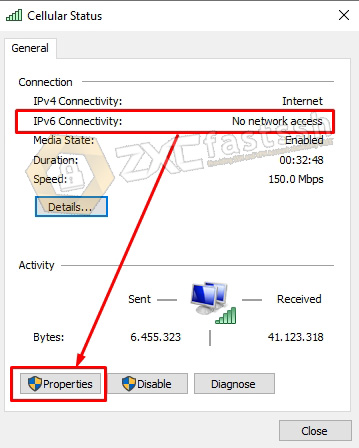
On the Network you are currently using, click Properties.
Select and Click Network and Sharing Center.
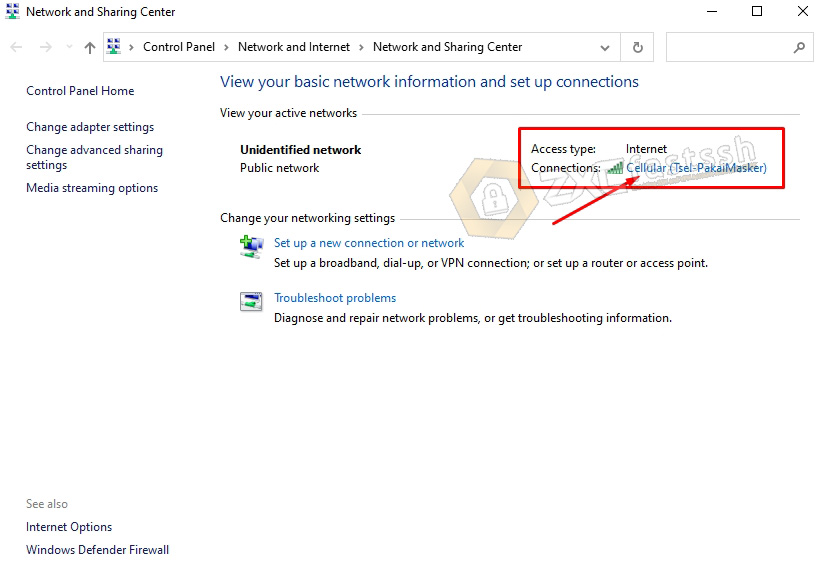
Click on the network you are currently using.
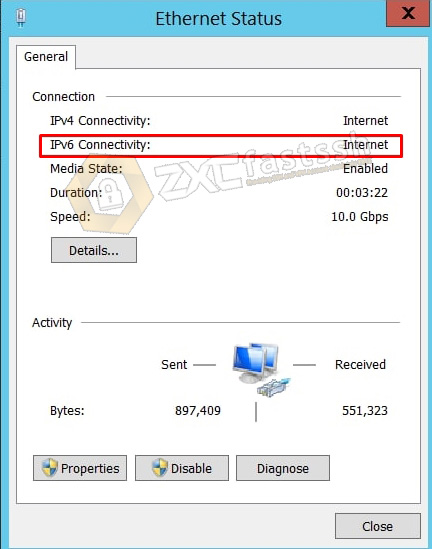
Notice in the image below, IPv6 on my computer is not connected to the internet. Then we will make IPv6 connected to the internet. The trick is to click Properties.
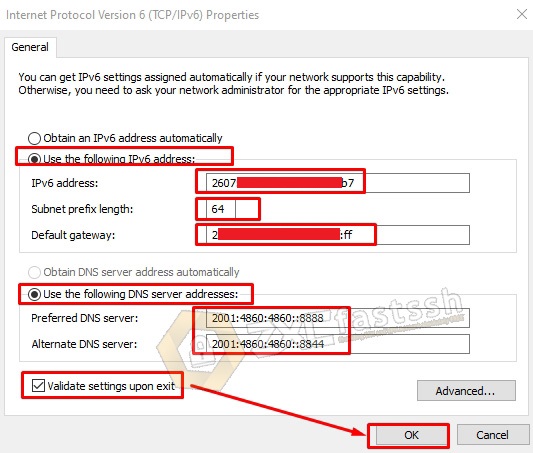
Select Internet Protocol Version 6 (TCP / IPv6) then click Properties.

Note! For this setting, please pay close attention to the wrong setting.
Select Use the following IPv6 address then enter the IPv6 that you created on the Howdy.id site above, but delete or remove the number /64. Enter the number 64 in the Subnet prefix length form. Defaul Gateway, fill in the Default Gateway that you created on the Howdy.id site above.
Then to check Use the following DNS server address: fill in Google IPv6 DNS. 2001: 4860: 4860 :: 8888 and / or 2001: 4860: 4860 :: 8844.
Finally check Validate settings upon exit then click OK.
Then look at your IPv6 status, if it is successful then IPv6 will successfully connect to the internet.
Next, try pinging google by typing the command in CMD: ping -6 ipv6.google.com

Open the myip.id site to check your IP address.
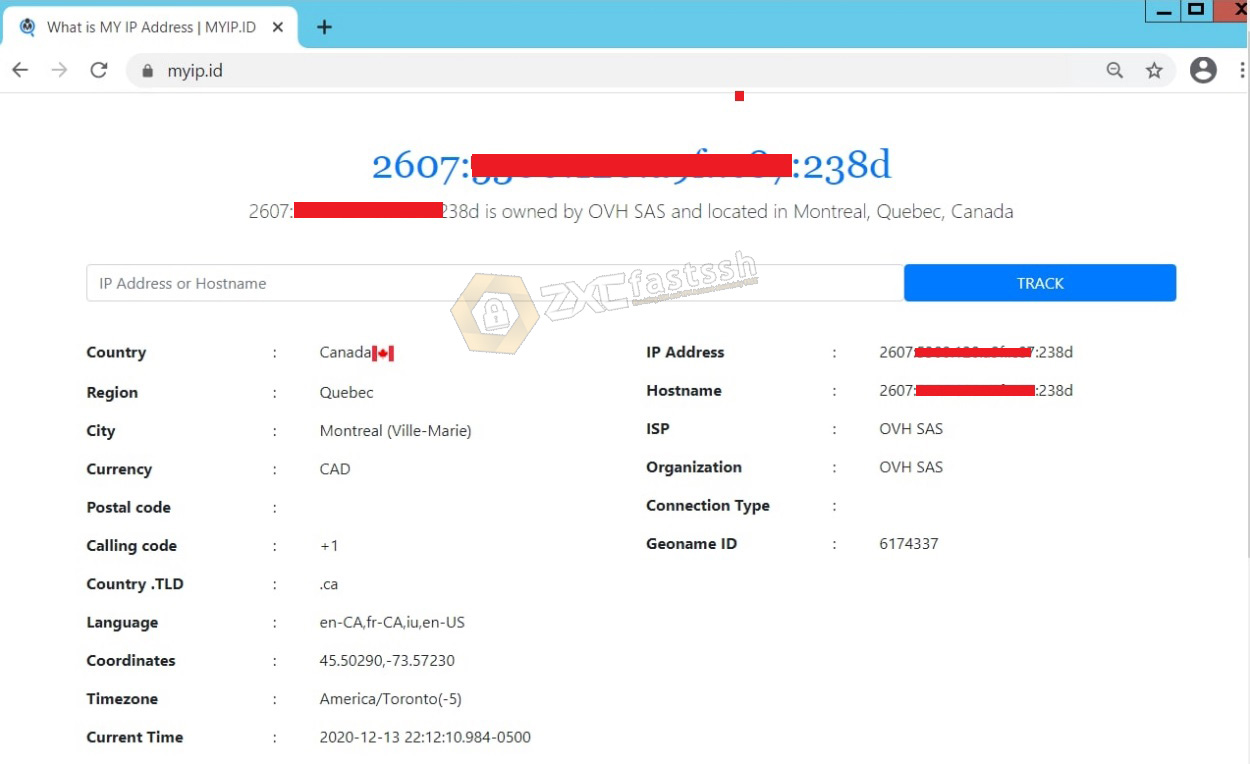
The tutorial on activating IPv6 on windows is complete.
CLOSING
This is the tutorial on how to activate IPv6 on Windows, which you can apply to all types of windows and the method is almost the same, it’s possible that the display in each window will be slightly different.