
Table of Contents
Blog.FastSSH.com — How to Create OpenClash Config on Subconverter — OpenClash is a plugin in OpenWRT. OpenClash is one of the clash clients that is now frequently used on OpenWRT. This plugin is compatible with several protocols including Vmess, Trojan, Snell and Shadowsocks, ShadowsocksR, Snell and other protocols.
For those of you who have installed OpenClash, but are confused about how to make the config, you can follow the short tutorial below to create an automatic OpenClash config using a subconverter.
Create Account Trojan, Vmess, Snell, ETC
The first thing you have to prepare is an account, you can visit your favorite website. In the example below, we will create a GO Trojan account on Howdy.id.


It is recommended to create more than 1 account. Finally, copy/save the previous account.
Convert Account to Config Clash
After loading the account, it’s time to create the config for OpenClash. Visit the subconverter website of FastSSH.
Then enter the account that you have created, in the first column.
If you have more than 1 account, space 1 line for the second account, and so on.


In the second menu, select the type of config you want to make.
- Choose Standard Clash if you want to choose an account manually or only have 1 account.
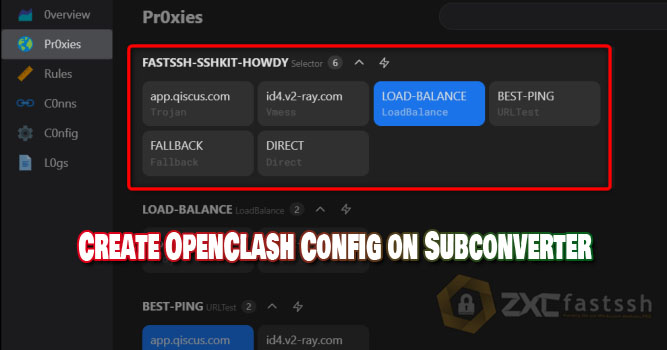
- Select Clash Group if you want to use the group on more than 1 account.
- Fallback: A method where if one of the down/dead accounts is replaced with an active account.
- Best Ping: The method by which the account with the best ping will be automatically used.
- Loadbalance: Method where traffic load will not be burdened to only 1 account/connection line.
- Adblock: Added rules to block ads.
*For the Rules Provider itself, it is not yet available on this subconverter, maybe in the future it will be added.
Please select the method you want to use, please don’t choose the Clash For Magisk config type, because that type of config is specifically for the clash module on magisk (android).


For the third menu, select the Proxy format. It is recommended to choose the format below to make it easier to edit the config later.


Continue to the fourth menu, enter the config name, the contents are up to you.


Finally click Download Config File.


Upload Clash Config to OpenClash
Please login to LuCI and go to Tunnel > Openclash. Then click Disable Openclash.


Then Config Manage, then click Choose File and select the config that you created and downloaded earlier.


Klik Upload.


Then click the Edit menu.


Please look for the external-controller line: 0.0.0.0:9090.


At the bottom of the line, there is a line secret: “”. If not, please add it.
Then edit the line to secret: “reyre”. Change the reyre depending on the Login Secret from your OpenClash panel, you can check it on the Overviews menu in OpenClash.


Then click Commit Settings on the bottom menu.


Finally, return to the Overviews menu > click Enable Openclash. Wait a few moments until everything runs.


Enter Clash Panel
The last step after entering the config is to enter the yacd panel menu. Yacd is yet another clash dashboard, namely a clash dashboard that can function to set proxies and monitor clash services on Openclash.
Please open the Overviews menu > Then click Open Panel.


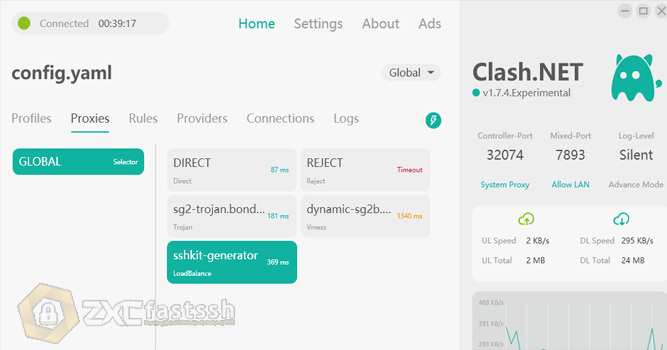
Select the Proxies menu, then please select the account you want to use.


Finally enter the Config menu, make sure Allow Lan is enabled.


Done.

