

Table of Contents
Blog.Fastssh.com — How to Use VNC (Virtual Network Computing) on Windows and Android — VNC (Virtual Network Computing) is a remote access software that allows us to display and interact with a single computer (called a “server”) using a simple program (called a “viewer”) via another computer anywhere via the Internet.
VNC Has a function to control other computers via a network connection. Can be with local or global networks such as the Internet. With VNC, you can control a computer that is far away out there.
VNC works on a client / server model. A VNC Viewer (or client) is installed on the local computer and connected to the server which must be installed on the remote computer. The server sends duplicates from the remote computer display to the viewer (client). The server also translates commands from the viewer and applies them to the remote computer.
VNC is platform independent and compatible with any operating system. The computer must be on a TCP / IP network and have ports open to traffic from the IP address the device is controlling.
How to Use VNC (Virtual Network Computing) on Windows and Android
First we will give a VNC tutorial on Windows first, then a tutorial on Android.
1. Tutorial VNC on Windows
Step 1 Download & Install VNC Viewer
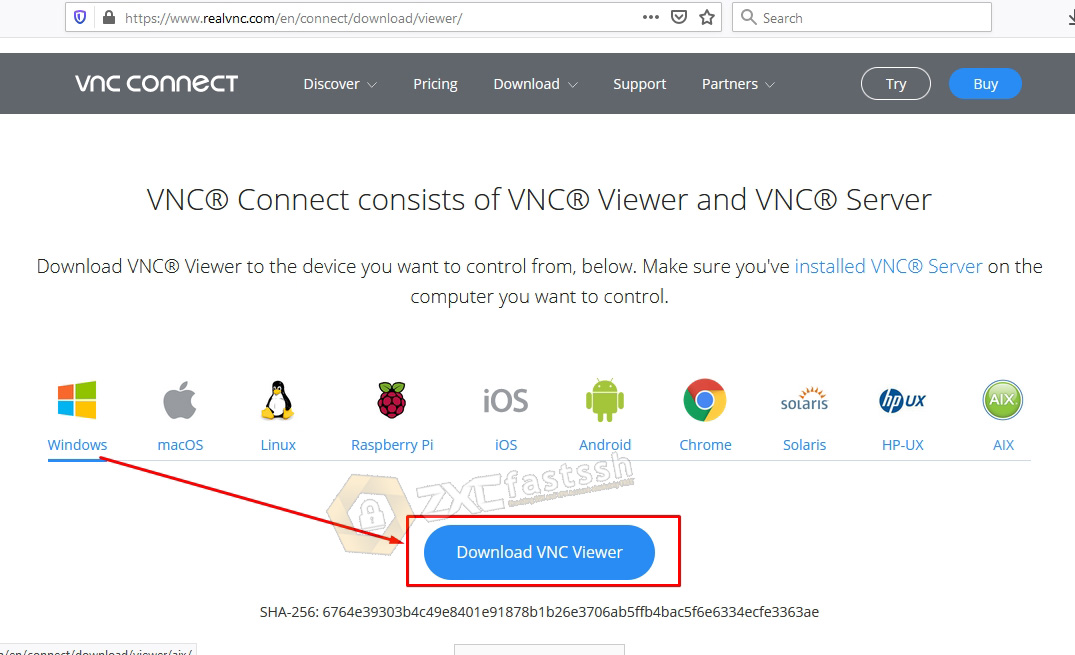

You can download the VNC Viewer application at the following link:
- https://www.realvnc.com/en/connect/download/viewer/
Install the VNC Viewer application to complete.
Step 2 Create Free VPS
To make a VPS for free you can visit the howdy.id
The registration process is complete, then we will create a VPS. Click the Create VPS menu.


On the howdy.id site there are many VPS options, you can make a free VPS according to your needs.


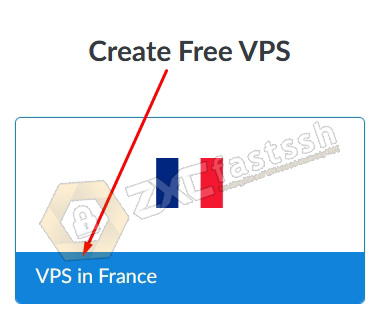
Our example will be to create a VPS France. Then click.

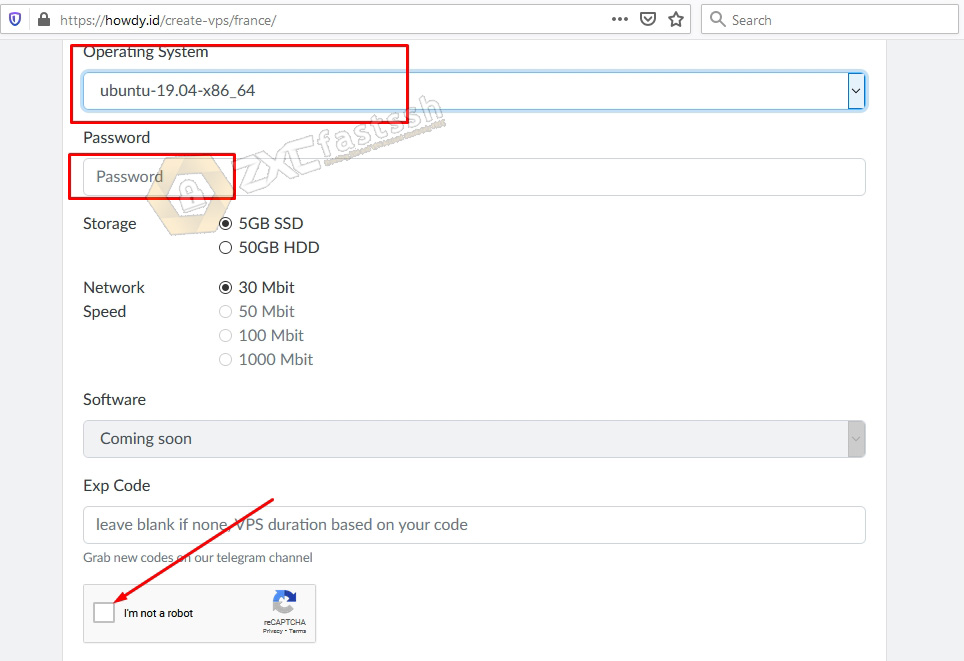
Choose the Operating System according to your needs, enter your password, check i’m not a robot. Then scroll down a little, click CREATE VPS.

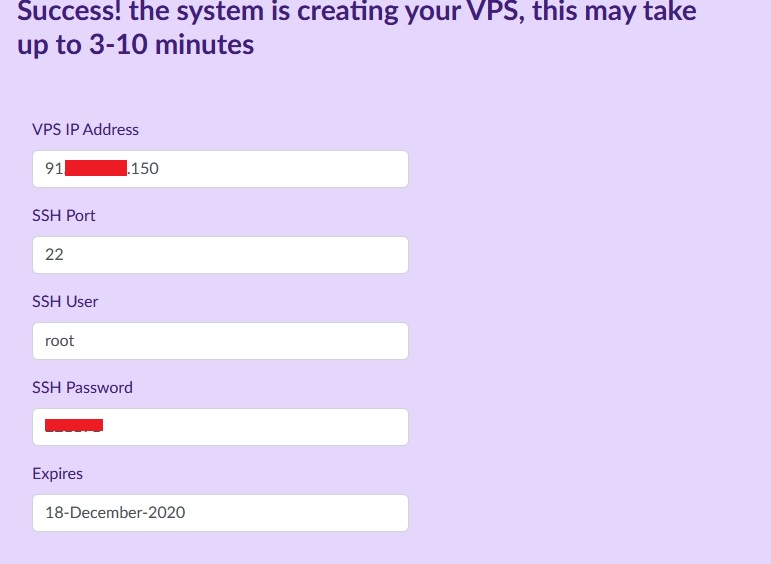
The VPS that you created has successfully appeared. There is your VPS information, such as VPS IP, username and password, port and expiration date of your VPS.

Scroll down a bit to see VNC Informatiaon.
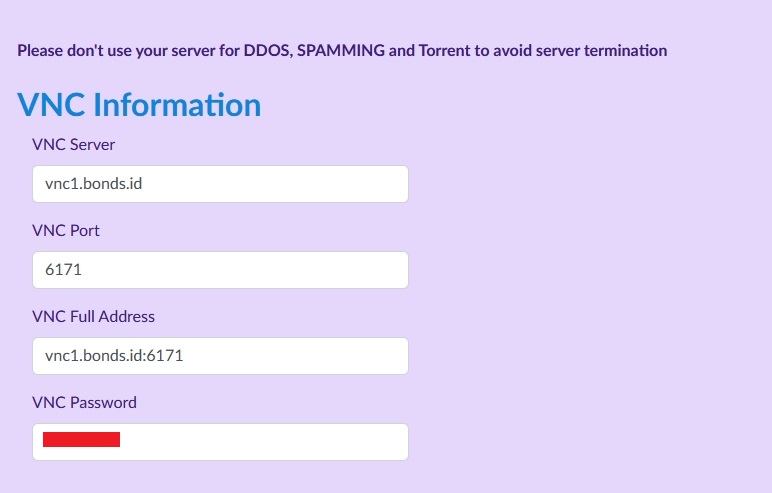

Step 3 Use VNC on Windows
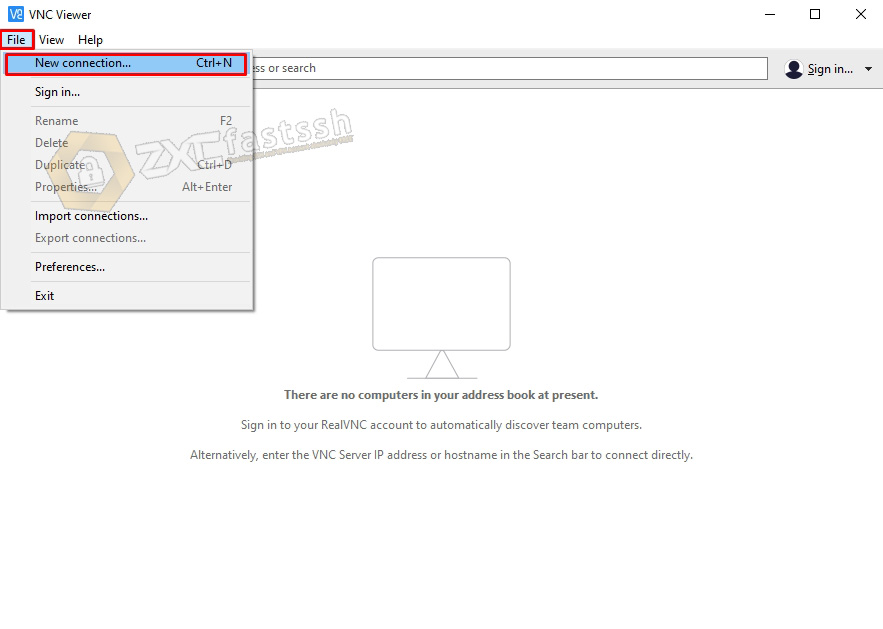
Open the VPN application that you installed above. Click the File menu then point the cursor on New connection then click.

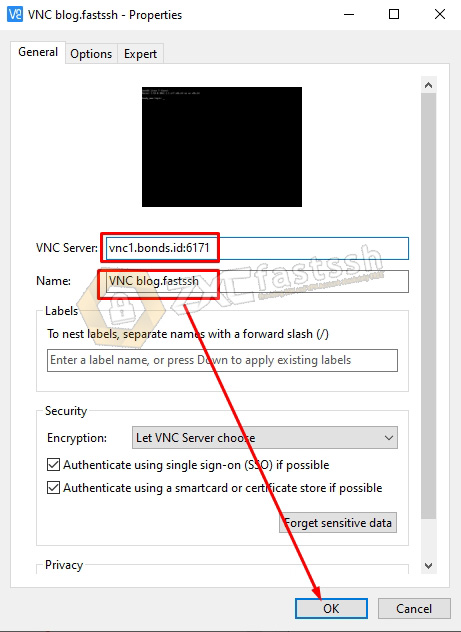
In the VNC Server form, fill in the VNC Server and the Port that you created on the Howdy.id site above. For the Name form, you can fill in up to you then click OK.

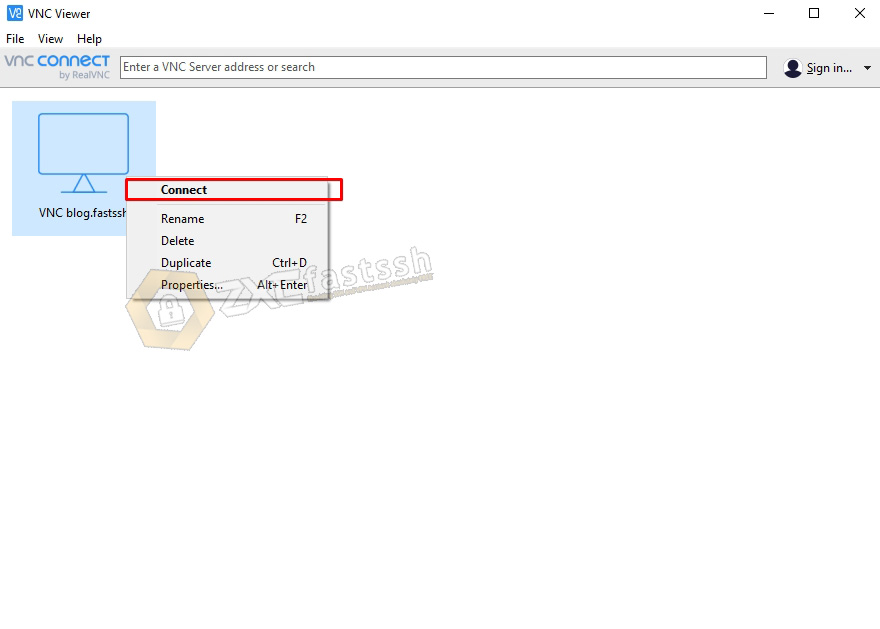
Right click on the VNC that you have created and then click Connect.

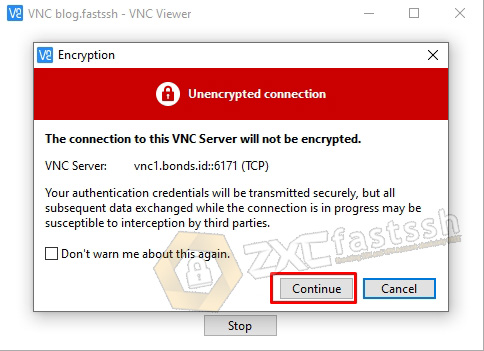
If there is something like the image below, just click Continue.

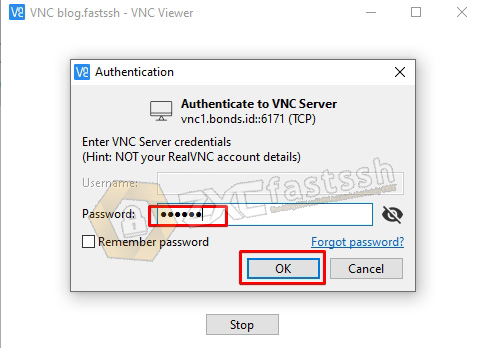
Enter your VNC password.

VNC has successfully logged in.
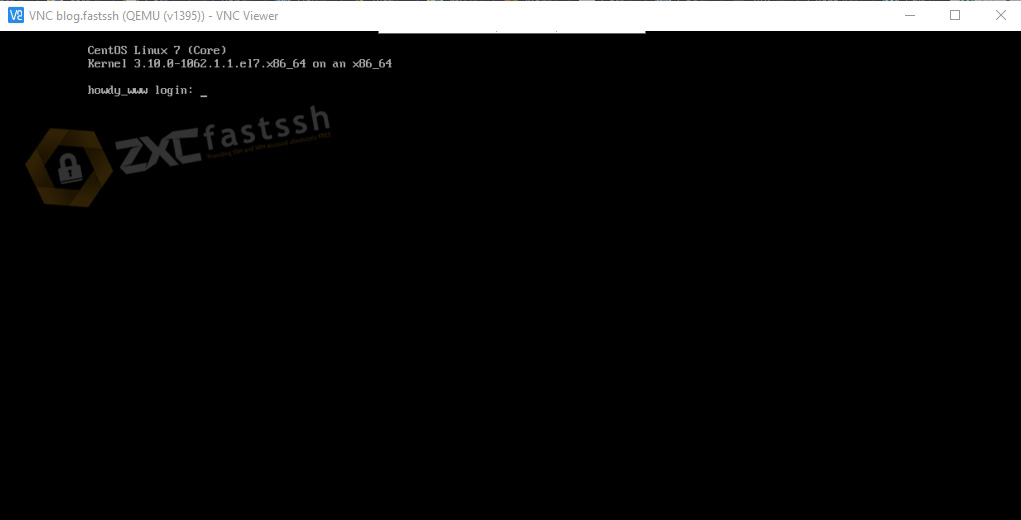

Tutorial VNC on windows done.
We continue to the VNC tutorial on android.
2. Tutorial VNC on Android
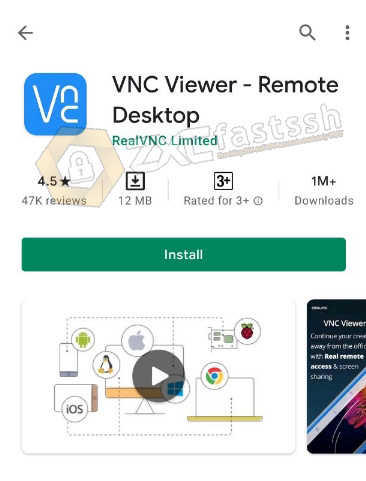
If you can’t use a PC or laptop to remote the VNC server, you can use the VNC Viewer application on Android, the method is quite easy, first you can go to the Google Play Store and you can search for VNC Viewer, as shown below:

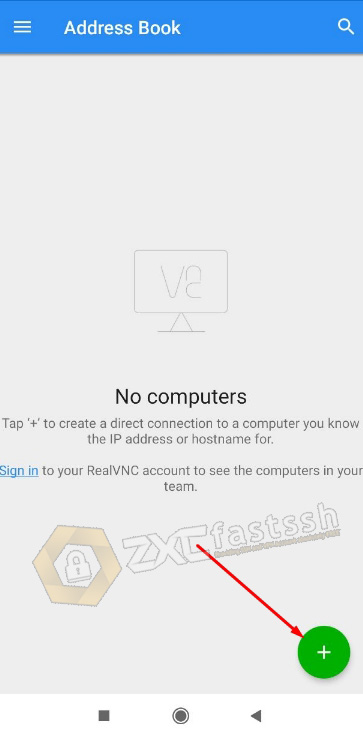
If it is already installed, you can open the VNC Viewer application, and you will be taken to the main VNC Viewer page as shown below. Then tap the (+) icon.

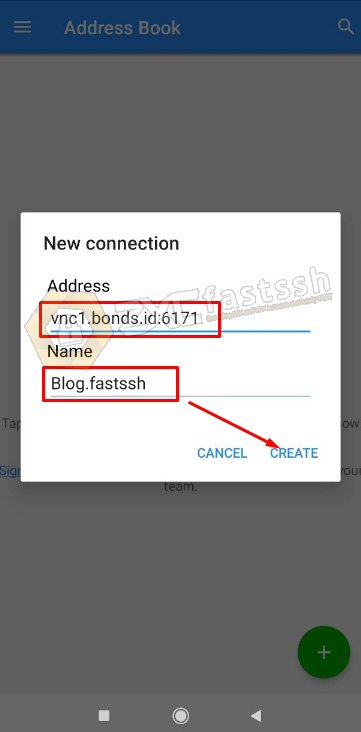
Enter the VPN account that you created on the Howdy.id site above along with the VNC port. You can fill in the Form Name anything. Then Tap CREATE.

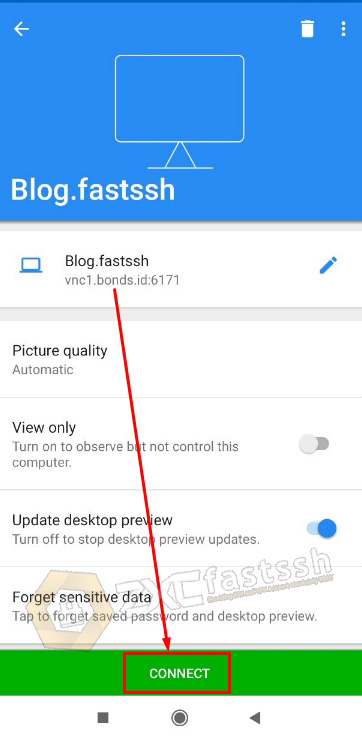
VNC profile is saved now tap CONNECT.

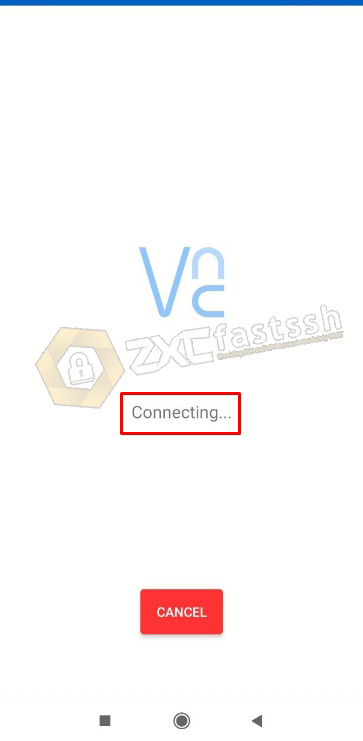
Wait a few seconds.

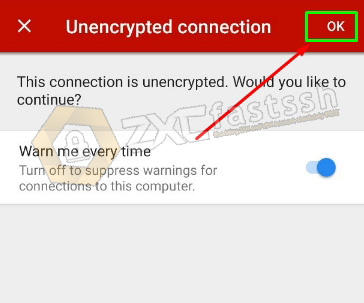
If it looks like the image below, tap OK.

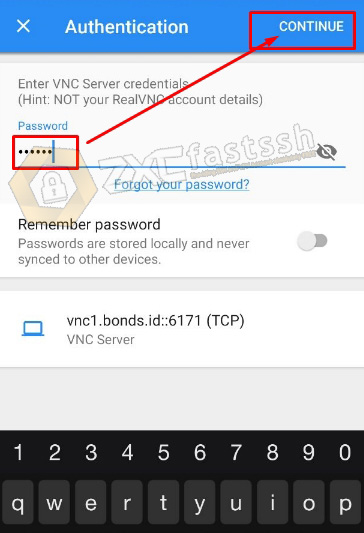
Enter your VNC Password then tap continue.

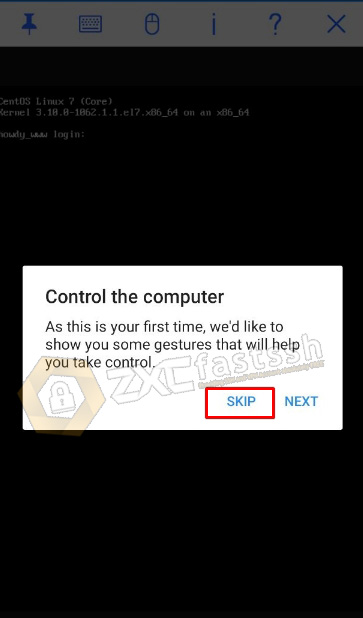
Tap SKIP or NEXT to read the guide.

VNC has successfully logged in correctly on Android.
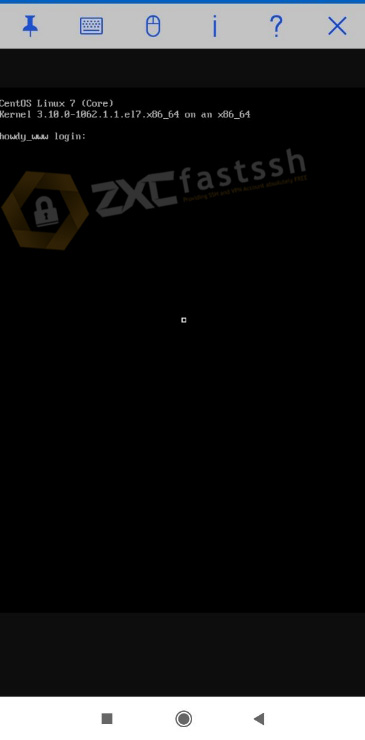

Done.
Closing
That is the explanation about using VNC on Windows and on Android that we can convey. We apologize for all the shortcomings and limitations both in terms of material and writing.