
Table of Contents
Introductions
SSH (Secure Shell) is a network protocol to secure connection between client and server. Most SSH servers are using OpenSSH by default, Here we will show you how to install a lightweight SSH server, called Dropbear for the low resource server.
Requirements
- centos 6.x 64 bit (or higher) / ubuntu 16.04 64 bit (or higher)
Starting the Installation
Connect to the SSH Servers (default port 22) and make sure you are up to date
Centos
yum update -y
Ubuntu
apt-get update -y
install Dropbear
Centos
yum install epel-release -y
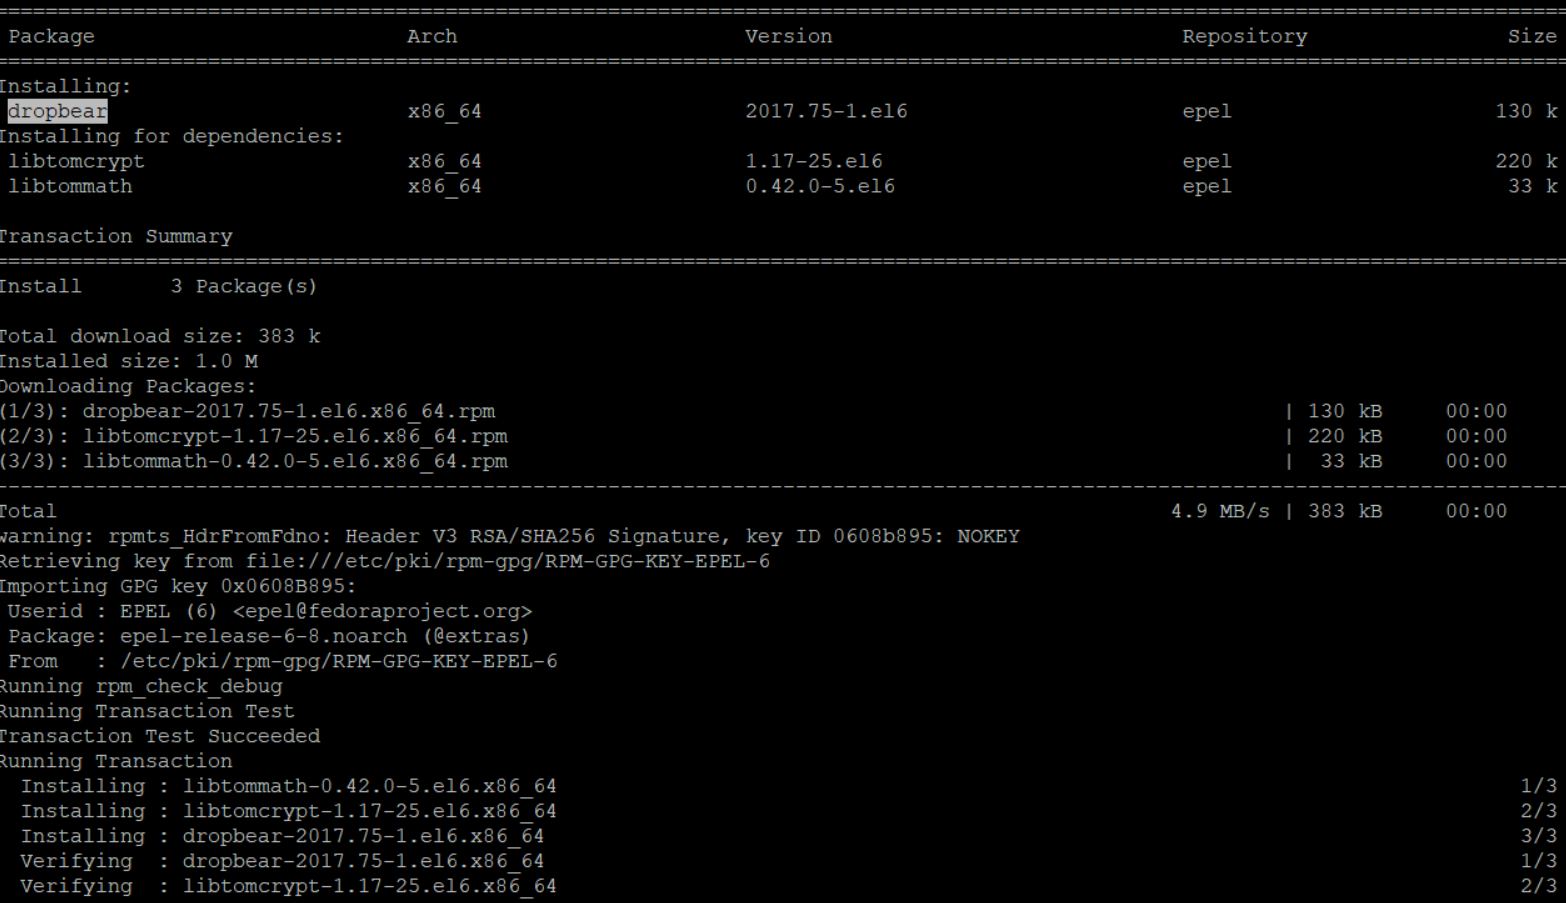
yum install dropbear -y
Ubuntu
apt-get install dropbear -y
small configuration to specify which port to open
Centos
nano /etc/sysconfig/dropbear
then write this configuration to open port 443, 80 and enable the login banner from /etc/issue.net file
KEYGEN=/usr/bin/dropbearkey
DROPBEAR=/usr/sbin/dropbear
RSA_KEY=/etc/dropbear/dropbear_rsa_host_key
DSS_KEY=/etc/dropbear/dropbear_dss_host_key
ECDSA_KEY=/etc/dropbear/dropbear_ecdsa_host_key
PID_FILE=/var/run/dropbear.pid
OPTIONS="-p 443 -p 80 -b /etc/issue.net"
Ubuntu
nano /etc/default/dropbear
Then set NO_START to 0 to enable dropbear and you can change the port on DROPBEAR_PORT, this a minimal configuration to open port 80,443 and enable the login-banner
NO_START=0
DROPBEAR_PORT=443
DROPBEAR_EXTRA_ARGS="-p 80"
DROPBEAR_BANNER="/etc/issue.net"
DROPBEAR_RECEIVE_WINDOW=65536
next, you can write something for the login banner, open /etc/issue.net using your favorite editor,
you can use the nano command for the easiest editor but you need to install it first on CENTOS
yum install nano -y
then, edit the login banner and a welcoming message there
Centos & Ubuntu
nano /etc/issue.net


press CTRL+X then type Y then Enter to save it
and the last, start the program
Centos & Ubuntu
service dropbear start
you can always check the status of programs by using this command
Centos & Ubuntu
service dropbear status
another trick I always use to check the services and ports:
netstat -tulpn


Thats’s all, feel free to send your queries below or join our Telegram Group (Link on the menu)
